
The Chod Rig, where do we start ? At 1st glance it seems to be against all known rig principals. The hook link is super short and can be very stiff ( in the original format), there is a popup fished straight off the bottom, how can a fish be fooled by it ?
Well they are, and in large numbers. If you fish lakes with silt issues, with debris on the bottom ( often know as chod hence the name of this rig) that will get tangled in a normal rig… then this is the setup for you !
Effectively it is a standard helicopter rig with a very short hook link and a pop-up. It is worth pointing out that the rig has to be fished with a popup if the anti “chod” capabilities are to be realised else with a bottom bait the bait may lie in the detritus that you are trying to avoid. The anti silt capabilities are also helped by virtue of the helicopter rig in that you can fish the rig as far from the lead as you desire and if you add on a Solar bag clip with an in-line lead you can even fish a bag of freebies close by.
Another use for the rig, and certainly the one I have put it to most use, is that of a “roving rig” ie a rig that you want to cast out to showing fish, or one that you want to regularly move about in open water when you have little idea what the bottom composition is. If you cast in a rig using a lead clip with a short hook link and you end up casting into 2ft of silt then you are unlikely to catch. With a “chod rig” you know that the rig is working as designed no matter what the bottom is. This was a tactic that I put to good use in France last year and my “roving rod” was set up with a chod rig and single Ccmoore strawberry pop-up. This rig with no freebies and just by moving it every few hours ( or when ever I remembered to be honest) picked up 1-2 bonus fish per day. Anyway onto the rig…

This example will be on leadcore, I have been playing with the Fox adaptive camouflage lead core for a while and I find that the brown colour really matches the lakes that I am fishing as the colour varies from brown to black to sand. It really is an improvement on the standard woven in patterns that we used to use before. First start by making up a length of lead core with your chosen lead attachment clip on one loop and a simple loop at the main line end. Put on a helicopter bead to cover the clip ( alternatively you can just use a piece of 4mm silicone tubing but a bead is neater). Then take a complete length of your chosen shrink tube and shrink it down approximately where you want the rig to sit in relation to the lead,

don’t worry about getting this exactly right as with some pressure you can get the shrunk down tubing to slide up and down the lead core. Note the size of the shrink tubing, you want a fairly tight fit and I have found that on the 45lb leadcore the 1.2 – 0.4mm shrink tube works perfectly. If you you too large tubing you will notice that it will start to slide up and down too easily.
Once this is done you are now ready to tie the rig. There are literally hundreds of ways to tie a chod rig, and as this is my article you will get to see my way. The thing that is different between how I tie this rig and most others is that I use a Domhoff knot rather than a knotless knot. There is a good reason for doing this on a chod, namely that it is virtually impossible to tie a good knotless knot with really short hook links. If you then try to tie the swivel end with a short length of line it too is really challenging. I know that some people like to use a 2 or 3 turn blood knot and blob the end with a lighter but I believe that my way is better as all knots used are tied to full strength. The Domhoff knot has the huge advantage that the “tag” end of the knot ( the piece that you use to tension the knot) is the hair, meaning that the hook link length remains constant during tensioning.
To start the knot take a length of fluorocarbon ( you can use stiff bristle or even stiff mono for a slightly different effect)and tie on a ring swivel with your favourite knot such as a trilene knot then thread the hook on the line, set the correct length of hook link and form a loop in the hair side like so :

Then taking the upper most piece of line ( which will form the hair) whip back down the shank from the eye about 6-8 turns

Thread the tag end through the loop and pull tight like so :

Whilst this knot does not look as neat as a knotless knot, it really wont let you down and the one above is perfectly fine, trust me.
Your final rig should look like so :

This rig is a 3 inch rig which is a very good starting point for most chod rigs, however you may want to experiment with longer or shorter. I have certainly seen rigs that are 1 inch in length as well as ones that are slightly longer. I wouldn’t go too long ( past 4 inches) as else you are starting to go into the realm of zig rigs 🙂
Now take the hair, put on a small ring ( see the pic above) and thread the hair back through the eye of the hook from top to bottom so that the hair exits out of the bottom of the hook’s eye. I suggest cutting this length of hair that protrudes to about 6-8mm and “blobbing” with a lighter. A note of caution, I am not sure what harmful chemicals may be produced when you burn fluorocarbon to I would keep the length that you melt with the lighter to a minimum. You only need to form a small blob on the end to stop the hair from passing back through the eye of the hook ie

Be careful when you melt / blob the tag end that you don’t melt or damage any of the rest of the rig. If you do you will have to start again as the lighter will quickly destroy the line if held too close the main rig. It should now look like this :
 As the line cools you can use the back of the lighter to carefully flatten the blob, be careful the line is hot and will stick to flesh if you use your finger rather than the back of the lighter.
Now to assemble the rig, take your length of leadcore as above and thread on a rubber bead, the ring of the ring swivel from the rig, and another rubber bead:

Thread down onto the leadcore and, after attaching a bait you are done ! it is that simple. Should you have an issue with the beads moving on a powerful cast of if you are using a PVA nugget or large bait then you can fix them using a length of PVA tape. This will dissolve in the water leaving the rig totally safe ie

The final rig should look like this :

For the observant ones amongst you, I know that there looks to be an elastic band on the rig ring… stay tuned for a a follow up article where I go through the different options that you have to attach the bait to the rig.
Some of you will also be thinking to themselves ” I am sure that you are supposed to curve the hook link with steam” well I have experimented with both curved hook links and straight and to be honest I am not sure if it make a difference. The hook holds seem to be the same on both and I really don’t like steaming mono / fluorocarbon as I am not sure if the heat weakens it or makes it more brittle. Your mileage may vary,

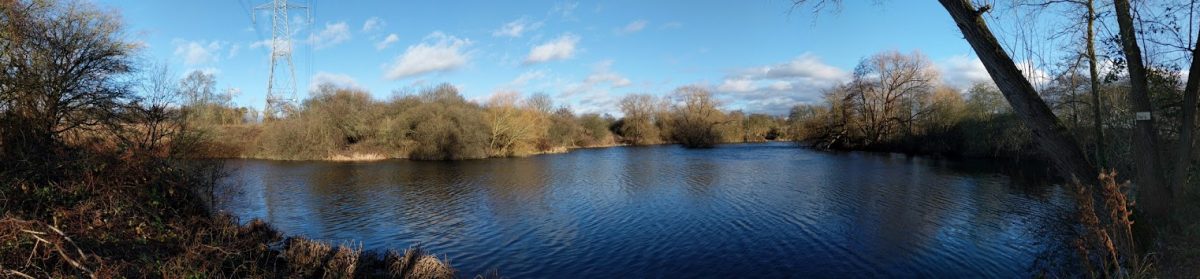
As they say the proof of the pudding is in the eating, here is a picture of a fish taken on a chod rig in open water on a roaming rod last year in France.
Let me know your thoughts, post a comment I do reply and read every comment, if you want to contact me via email please use the “Contact me” link at the top of the page.

Hi,
These articles have been fabulous for me learning to tie rigs at home. So thanks a lot for taking the time to publish them.
One question on this rig and I suppose also applies to the general use of inline leads too. Are there safety versions of these where the lead can eject immediately. I fish in snaggy spots and normally use a standard rig with lead clip, but would like to branch out and try alternatives while maintaining a safety philosophy. To be honest your CV Safety rig looks rather involved.
thanks & keep up the good work,
Conor
LikeLike
Hi Conor,
if you want to eject the lead in an inline set up look at the Avid drop off system that can be seen here http://www.avidcarp.com/AVA-09_Item
re the CV saftey rig, it is a little and TBH I have started to move to either a plain lead clip or a chod if I need to
Q
LikeLike
Hi there
I’ve used this method now for sometime I’m absolutely useless at tying the boilie on, another way that I’ve done it is with a Korda safe zone leader and the two beads like you but when I tie the boilie on I actually thread a longish piece of bait floss thru the ring on the hair then pull both ends thru my popup then slide it down and put a small korda boilie stop and then tie down the two ends of the bait floss onto the boilie stop and carefully blob the knot.
This works just fine and so far in France and the Uk I cort on weedy lakes.
Cheers
Brett
LikeLike